Most guides about switching hosts spend a lot of time on website migration and almost none on email. Then people finish the move, point their domain at the new server, and wonder why messages are disappearing.
Email migration is its own process, and it has a few traps that catch people out. This guide walks through exactly what to do, in what order, so you keep every message and don’t lose a single email in transit.
What Actually Moves (And What Doesn’t)
When you migrate email from one host to another, only your messages and folders move. That’s the mail sitting in your Inbox, Sent, Drafts, Trash, and any custom folders you’ve created. Everything else has to be handled separately.
Here’s what doesn’t transfer automatically:
- Contacts: stored separately from your mail and need their own export and import
- Calendars: same situation; not part of a standard email migration
- Filters and rules: these live in the server’s mail configuration, not the message store
- Forwarders, catch-all addresses, and autoresponders: must be recreated on the new host
- Email signatures: not server-side; set them up again in each client
- Email client settings: Outlook, Apple Mail, your phone. None of these reconfigure automatically. You’ll reconnect them to the new server after the move
Assume nothing carries over except the messages themselves, and you won’t be caught off guard.
Before You Start: Four Things to Do First
A bit of preparation here saves you a lot of pain later.
1. Back up your current mailbox. Do this before touching anything else. If something goes wrong mid-migration, a local backup means nothing is lost permanently. How you do it depends on your current setup:
- Gmail: use Google Takeout to download your full mailbox as an archive. The download link is only valid for about seven days, so save the file somewhere safe immediately
- Outlook (classic): go to File, then Open and Export, then Import/Export, and export to a .PST file
- Apple Mail: select the mailbox in the sidebar, then choose Mailbox, then Export Mailbox. It saves as an .mbox file
2. Write down your current email settings. Before you lose access to the old host’s control panel, note your current IMAP and SMTP server addresses, port numbers, any forwarders you’ve set up, catch-all rules, and any aliases. You’ll need these both to run the migration and to recreate settings on the new host.
3. Check your new host’s mailbox size limits. Some hosts cap individual mailboxes at 1 GB, 5 GB, or set a per-account storage limit. Check this against your current mailbox size before starting. An IMAP copy that hits a quota limit partway through will stop without warning.
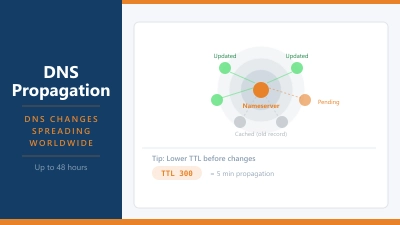
4. Lower your MX record TTL before you switch. Your MX record tells the internet where to deliver mail for your domain, and it’s cached by servers across the web. The TTL (Time to Live) controls how long that cache is held.
If your TTL is set to 86400 seconds (24 hours), updating your MX record won’t take effect everywhere straight away. During that window, some senders will still be hitting your old server. Drop your TTL to 300 or 600 seconds a day or two before switching, and that propagation window shrinks to minutes rather than hours. Log in to wherever your DNS is managed, your registrar, Cloudflare, or your host’s nameservers, and make that change now, not the day you switch.
The Three Ways to Copy Your Mail
Once you’ve set up matching mailboxes on the new host, you need to actually move the messages. There are three main methods.
Worth knowing: some managed WordPress hosts don’t include email hosting at all. If you’re moving to a provider like Kinsta or Rocket.net, you’ll need a separate email service such as Google Workspace or Zoho Mail. Your MX records point to that service rather than to your hosting provider.
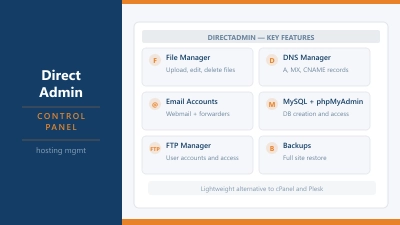
Ask your new host first. Some hosts expose an imapsync-based migration tool in their control panel. DirectAdmin includes one under Email Management. If your new host uses cPanel, ask their support team whether they offer a migration service. It’s not typically available as a self-serve option for shared hosting accounts, but many hosts will run it for you at no charge when you sign up. Worth asking before doing anything manually.
IMAP via a desktop email client. This works with any two IMAP-enabled hosts and doesn’t require special tools. Thunderbird is the most reliable free option. Add both accounts, old host and new host, then select all the folders in the old account and drag them across to the new one. It copies everything folder by folder. Slower for large mailboxes, but you get full visibility throughout.
This only works if your old account was set up as IMAP, not POP3. If your old email was configured as POP3, messages were downloaded to your local device and never stored on the server. There’s nothing to migrate remotely in that case. The mail is already on your computer, and you just need to reconnect your client to the new server.
cPanel-to-cPanel full account transfer. If both your old and new hosts run cPanel, a full account backup transfer moves everything: email accounts, messages, forwarders, filters, and settings. Many hosts handle this for you for free when you sign up. Again, ask before attempting it manually.
Updating Your DNS Records
Moving the messages is only half the job. You also need to update your DNS so new mail routes to the new host. This is the cutover step, and the order you do things in matters.
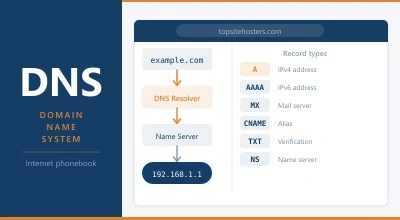
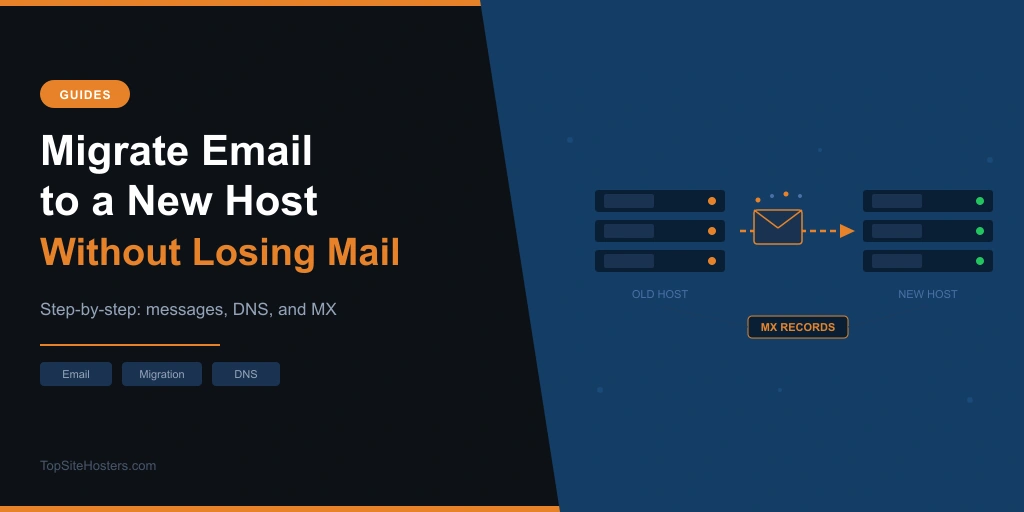
MX records are the main one. These tell the internet which mail server handles your domain. Update them to point at your new host’s mail servers. Your new host will give you the exact values.
SPF record is next. SPF tells receiving servers which mail servers are allowed to send on behalf of your domain. Your old SPF record still references your old host’s servers, which means mail sent from the new host may start failing authentication checks. Update it to include your new host’s sending servers and remove the old ones.
DKIM needs to be set up fresh on the new host. DKIM uses a cryptographic key pair to sign outgoing mail. The new host generates a new private key; you add the corresponding public key as a DNS record. Your old host’s DKIM key becomes irrelevant once you switch.
DMARC may need adjusting once SPF and DKIM are updated. If you have a strict DMARC policy in place, verify it still aligns with the new SPF and DKIM records after making the other changes. Our SPF, DKIM, and DMARC glossary entry covers what each one does in plain English.
Once the DNS changes are in, use the DNS Lookup tool to confirm your MX record is pointing where it should. Enter your domain and select MX from the record type menu.
The One Rule That Saves People
Never delete or cancel your old mailbox until you’ve logged in to the new one and confirmed that every folder and message arrived.
IMAP copies can stall mid-transfer. They can skip folders if there’s a connection issue. They can stop when the destination mailbox hits its storage limit. Close the old account before verifying the new one is complete, and whatever didn’t copy is gone.
There’s also the DNS propagation window to account for. Even after you update your MX records, some senders will still be hitting the old server for a short time while the change spreads. Keep the old mailbox live, check it for any messages that arrived after you switched, and run one final sync before closing the old account.
The old box costs nothing to keep open for a few extra days. Losing a week of business email costs considerably more.
What to Recreate Manually
Once the messages are across and DNS is updated, go through this list on your new host’s control panel:
- Email forwarders (addresses that redirect mail to another account)
- Catch-all addresses (accounts that receive mail sent to any undefined address on your domain)
- Autoresponders and vacation messages
- Email aliases
- Any spam filters or routing rules you had configured
Then reconnect your devices. Every phone, laptop, and desktop that has your email set up will still be pointing at the old server. Update the IMAP incoming server and SMTP outgoing server in each email client to the new host’s addresses. Your new host will have these in their setup documentation.
If you were also migrating your website at the same time, our guide to moving a WordPress site to a new host covers the site side of the process separately.
Common Questions About Email Migration
Do I lose my emails when I switch hosting providers?
Not if you migrate them properly. Your messages stay on the old server until you close that account, so you have time to copy them across before cutting over. Back up first, migrate second, verify third, then close the old account.
Will email stop working during migration?
There’s usually a short window during DNS propagation where mail delivery may be slightly disrupted, but it’s rarely a complete outage. Lowering your MX TTL before the switch reduces this window significantly. For most people, the disruption is a matter of minutes rather than hours.
Can I keep my email address when switching hosts?
Yes. Your email address is tied to your domain name, not your hosting provider. As long as you keep the same domain, you keep the same address. You’re just pointing it at a different mail server.
What’s the difference between POP3 and IMAP for migration?
IMAP stores your messages on the mail server, which is what makes remote migration possible. POP3 downloads messages to your local device and typically removes them from the server. If your old account was set up as POP3, there’s no server-side mail to migrate. The messages are already on your computer, and you reconnect your email client to the new server after switching.
How long does email migration take?
It depends on your mailbox size and the method you use. A small mailbox via a host-run migration tool can be done in minutes. A large mailbox transferred folder by folder through Thunderbird might take several hours. Plan the cutover for a quiet period if email is business-critical.
The Short Version
Set up matching accounts on the new host. Back up your current mailbox. Lower your MX TTL a day or two before you switch. Copy your messages using whichever method your host supports. Update your MX, SPF, and DKIM records. Keep the old mailbox open until everything is verified. Recreate your forwarders and reconnect your devices.
Do it in that order, and you won’t lose a message.
If you haven’t set up your email with a custom domain yet, our guide to setting up email with your own domain is a good place to start.